Fabric Instances Screen
The Fabric Instances screen lists all of the fabric instances in the system.
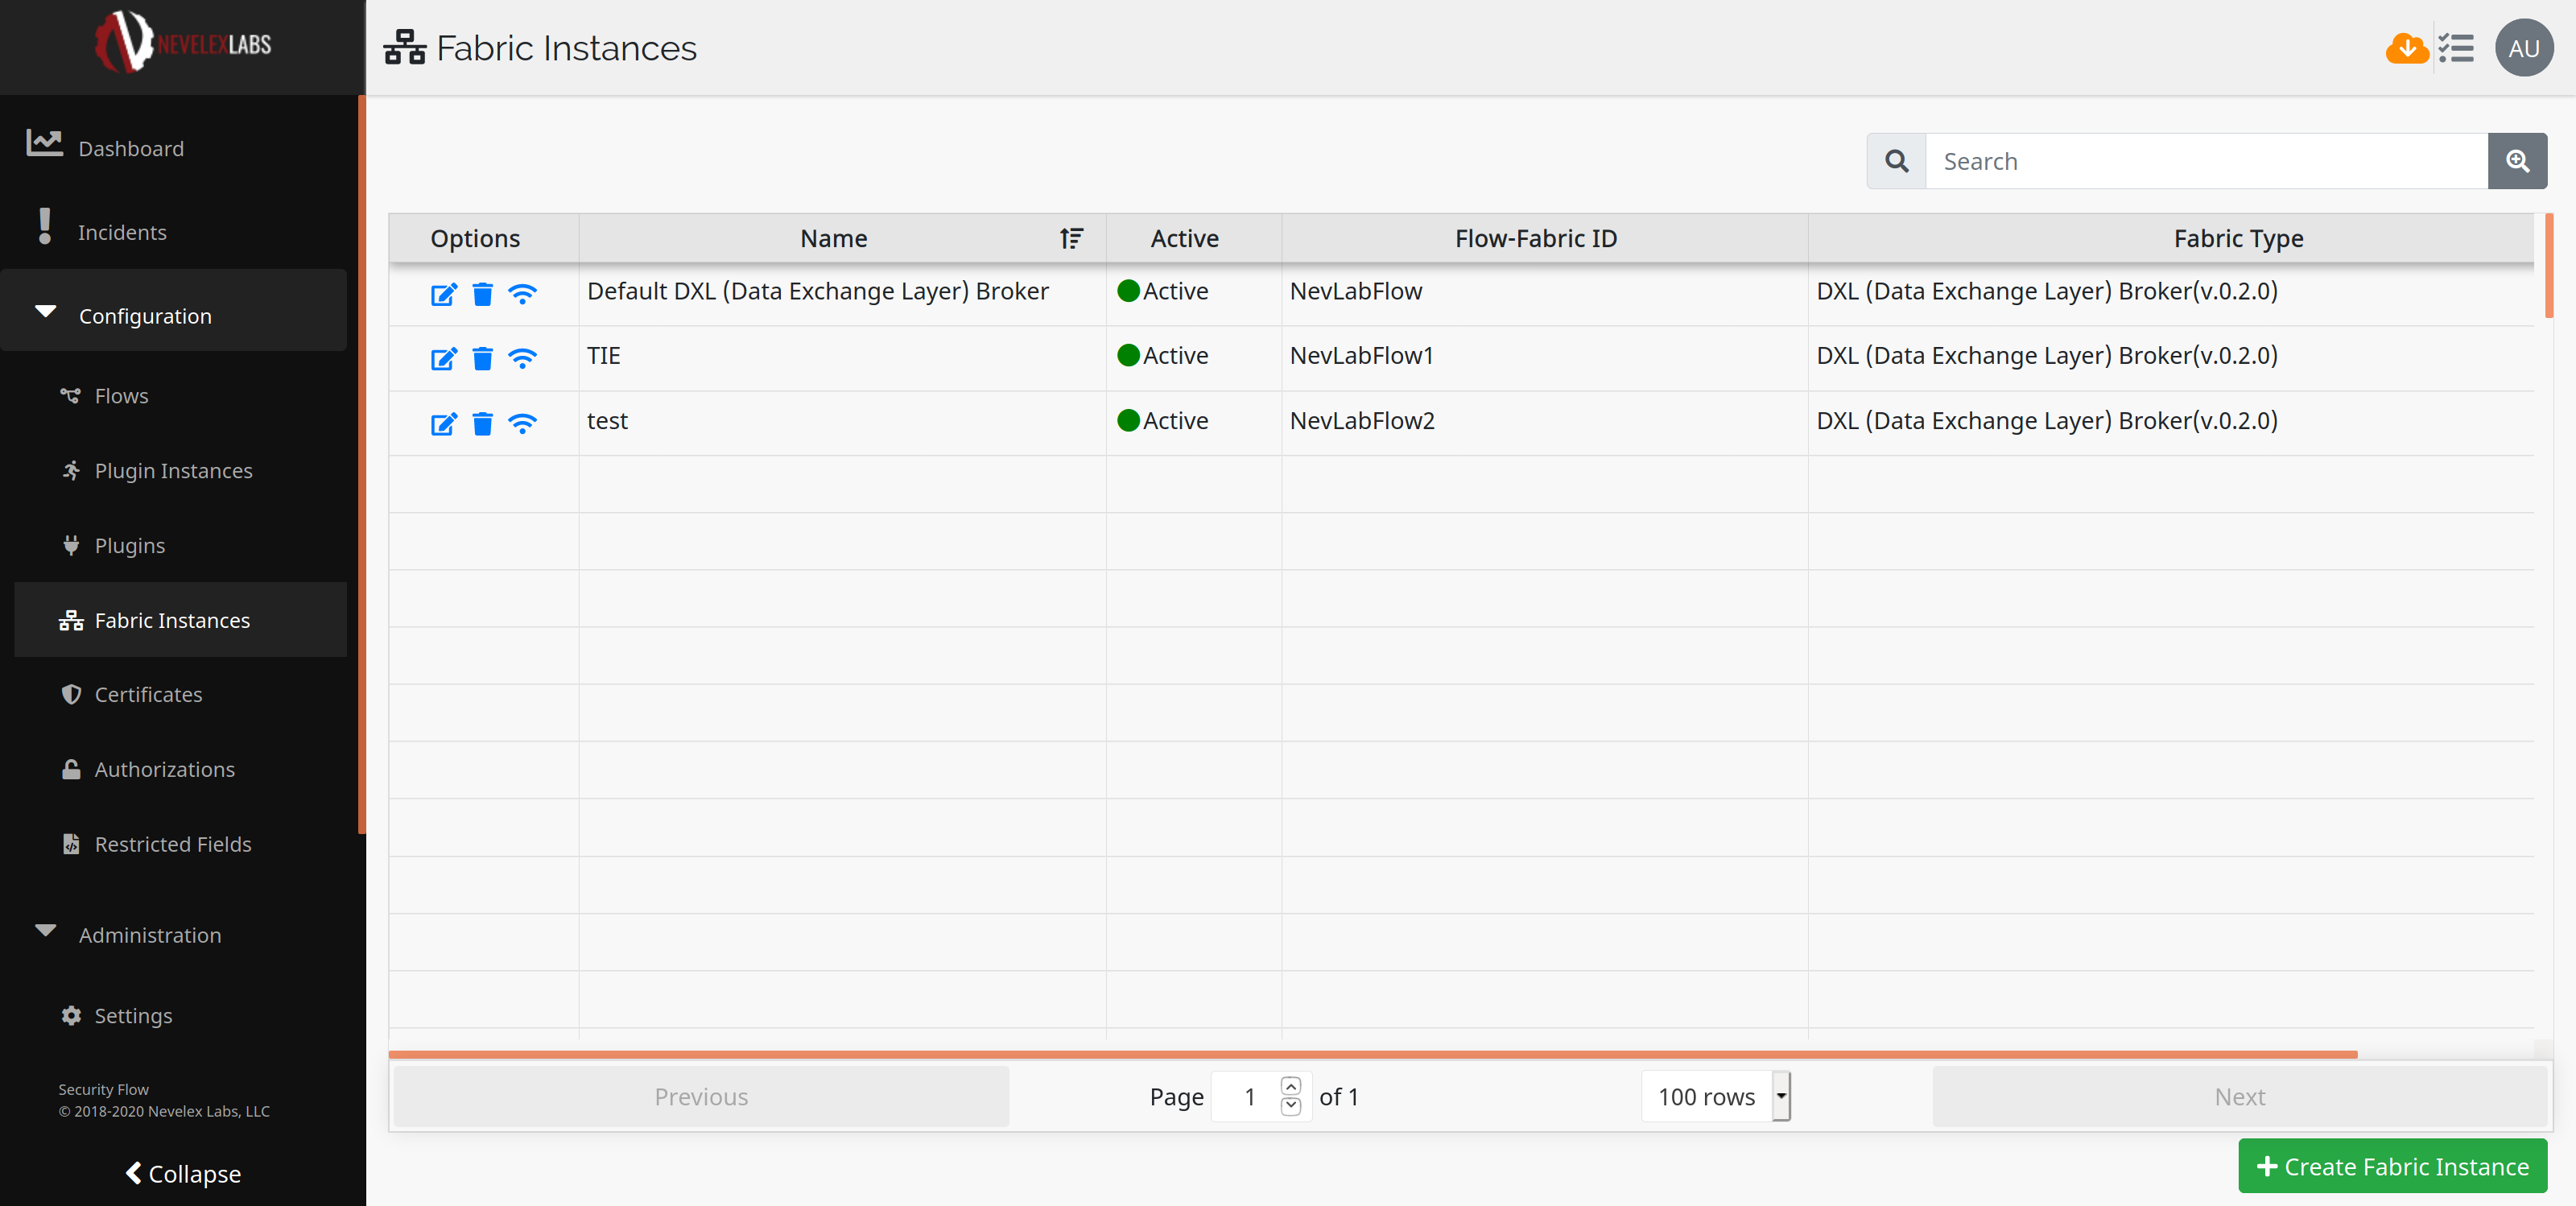
Columns
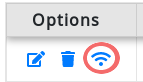
The information on this screen is arranged in columns: Options (with edit, delete and test icons), Name, Active (status of active or inactive), Flow-Fabric ID, and Fabric Type. The user can sort the display by clicking on the column heading.Edit Fabric Instance
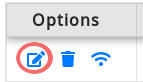 To edit a fabric instance, click on the edit icon in the Options column of the instance's row. That will take you to the edit fabric instance page.
This operation requires Manage Fabrics permission. (See the User Roles and Permissions Page.)
To edit a fabric instance, click on the edit icon in the Options column of the instance's row. That will take you to the edit fabric instance page.
This operation requires Manage Fabrics permission. (See the User Roles and Permissions Page.)
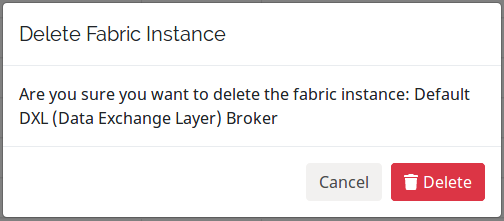
Delete Fabric Instance
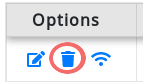 To delete a fabric instance, click on the Delete icon in the Options column of the instance's row. That will bring up the delete dialog box for confirmation. This operation requires Delete Fabrics permission. (See the User Roles and Permissions Page).
Test Fabric
 To test a fabric instance, click on the Test icon in the Options column of the instance's row. When the test is complete, a window will pop-up with indication on whether or not the fabric is connected.

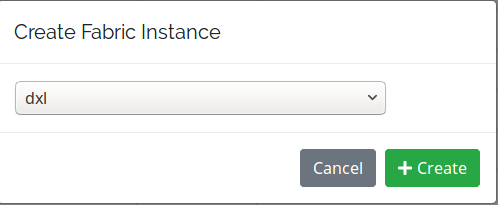
Create Fabric Instance
Create Fabric Instance button on the lower right corner of the page. That will bring up the create dialog box. After clicking Create, you are taken to the Configure New Fabric Instance page. This operation requires Manage Fabrics permission. (See the User Roles and Permissions Page).
Nevelex Labs, Main Office
Metro Office Park
2950 Metro Drive, Suite 104
Bloomington, MN 55425
Phone: +1 952-500-8921
©Nevelex Labs, LLC. 2018-2026, All Rights Reserved.
EULA